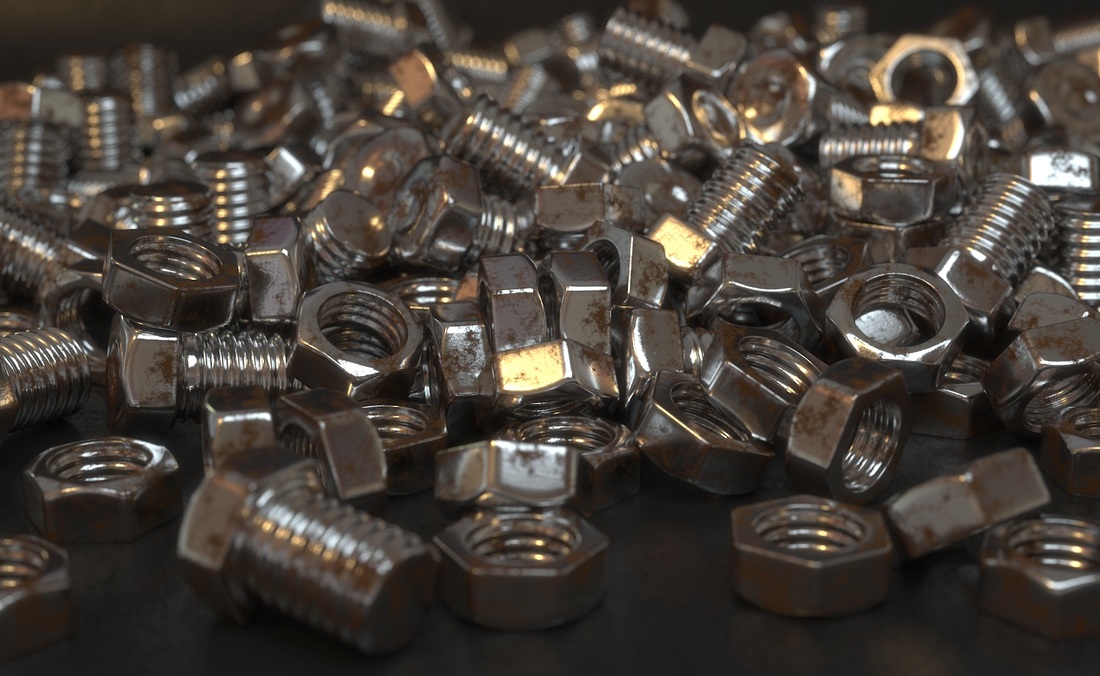
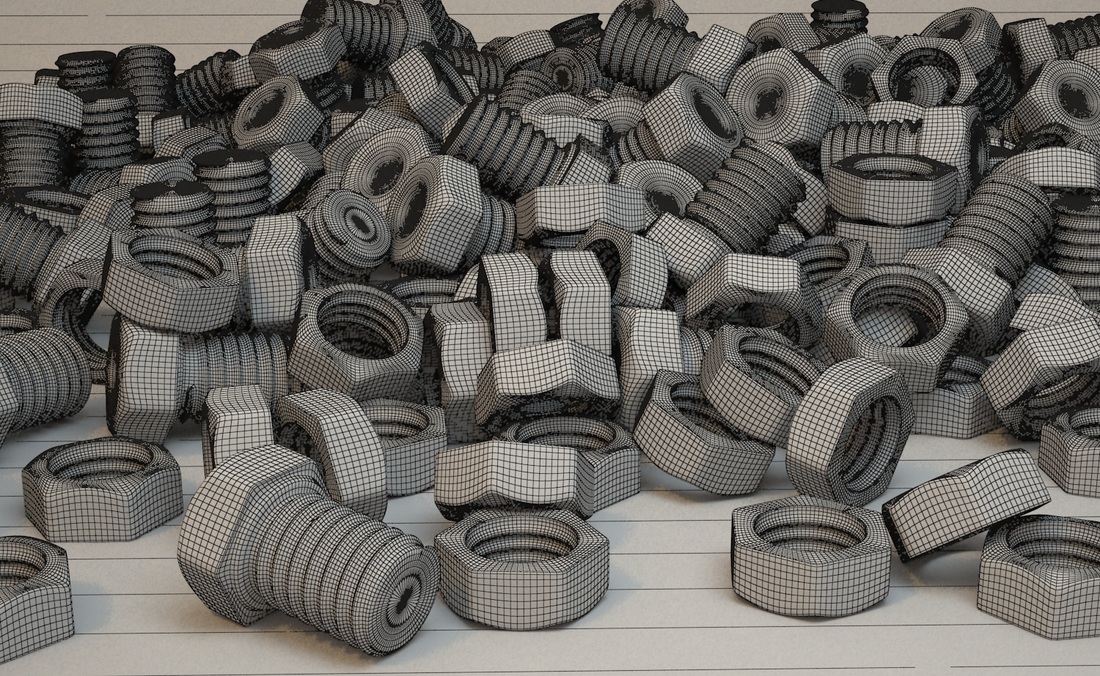
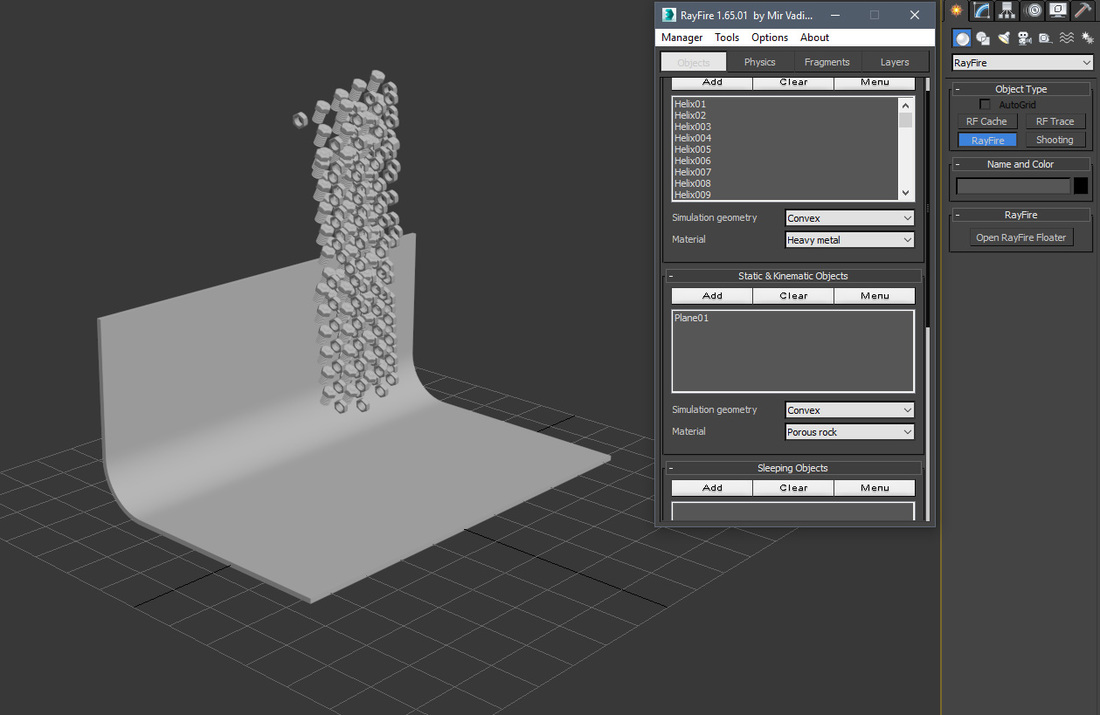
The geometry without materials and light/camera effects took only a minute to render in contrast to the six hours for the main image. This example shows how important materials are in creating realism, more so than complexity of the models. The arrangment of the screws and bolts was done by the RayFire plugin, which is easy to use and gives great results. |
Rust material
Material test for a rusty metal using VrayBlend material to mix steel and rust material. Rust lays on top of the steel material. The blend mask is a noise map.
The rust texture itself is projected on the models via VrayTriplanarTex texture, which spreads the texture alongside the axes of the model and so allows to work without UV mapping. To make reflections more realistic a dirt map was applied as a reflection map. This avoids perfectly reflecting surfaces. Lighting is set up with HDRI plus one studio light, depth-of-Field effect added and a weak bloom effect in post-render.
|
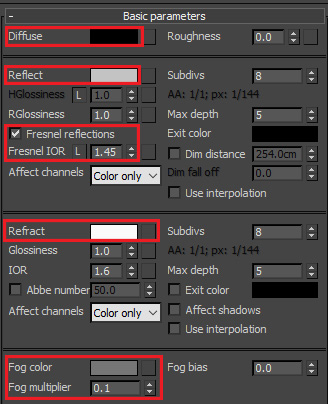
Simple glass materialWhen creating glass in V-Ray the diffuse value should be set to black and reflections should be set to a medium strength (medium grey). To allow the light to shine through the model, refraction needs to be enabled: a value of nearly white should be set (total values of white and black should always be avoided since they can cause issues).
|
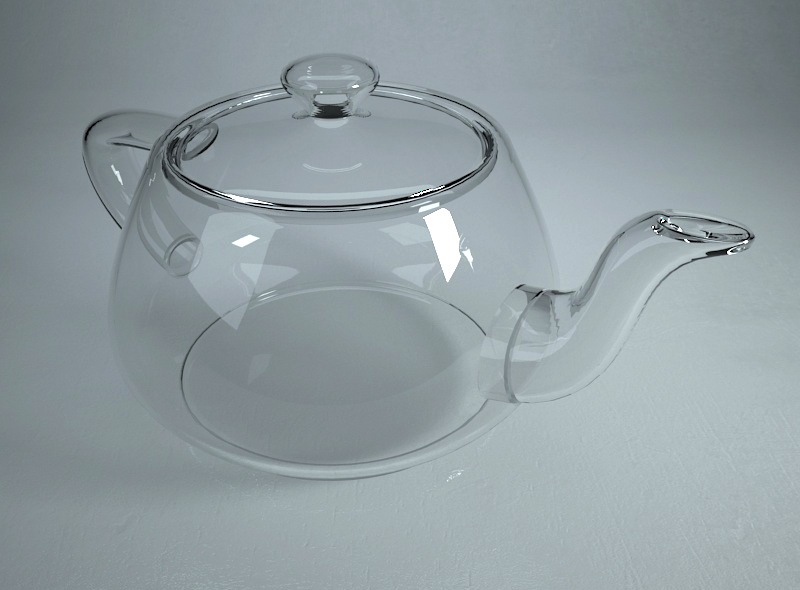
The example tea pot has a shell modifier applied
|